Wednesday, May 28, 2014

5 DIY Projects for the Garden


 Welcome to my Garden Project Round-up.
I have 5 garden project ideas that I want to share with you.

A few years ago my husband built me some raised garden boxes. I've always wanted a small garden near the house and this is right outside my back door. It looks really sad in the winter. 
This is the before planting and after planting. 
I love decorating. I love crafting. More than gardening :) 
Here are a few of my projects; my attempt to decorate the outdoors.  
First is my Farmers Market sign. I took an old board, some stencils and I colored the letters in with chalk.
 Then I traced around the letters with a black sharpie and 
then I colored them in. Easy and Done!

I called this project my "Outdoor Chalkboard" sign.
I painted a board black. Then I traced around some letters with chalk. I used a white paint pen to color them in. 
The white paint pen really gives this a chalky "look".

One of my most popular posts was this Garden Hose Wreath
Old hose+Dollar Tree stuff= Fabulous.

On Old Pallet leaned up against the fence is a perfect place for flowers. I just placed the pots on the inside of the pallet.
 I had sugar snaps growing up this pallet last year.

My favorite all time garden project is when I hung this Mirror on the fence. It came from Salvation Army for about 7 bucks. I used an outdoor primer on it and it still looks pretty today.

I hope you were inspired by my garden projects.
Thank you so much for stopping by
Thrift My House.

Thursday, May 22, 2014

New Floors!

Welcome to my new blog. I hope you will follow me here.


About a month ago, we had 3 new floors installed. FREE!
I'll explain in a minute... but first, I've always wanted a black and white floor in my kitchen. LOVE!

This is sheet vinyl. Vinyl is not my first choice but when it's free....
who's going to argue with that.

I had this installed in the laundry room and my kids bathroom.
It is hair, lint, dirt and dust friendly.
My kind of floor!

This is the before. Kitchen on the left, brownish floor to match 
the orange-ish cabinets. Laundry room in the middle; same 
pattern but green. The kid's bathroom on the right; same pattern 
but grayish tan. 

So here's the scoop. WARRANTY. See the orange-ish swirls in the floor? This is called bottom up staining. It's the glue that the company used underneath the floor. It discolored the floor over time. These floors were only 8 years old but the warranty is for 30 years. I wonder how many people actually take advantage of their warranty. 
This has happened to us TWICE. This is our 2nd time having floors installed for free. The first time the floors were 12 years old when they started to show stains. 

So exciting to see the old flooring gone!

New floors!

I love the black and white floor. 
Yes, I have to sweep and mop it daily. I make the kids walk on the black squares...HA!  
Dirty feet, the perks of living in the country.

I am so happy with the gray floors! This is the laundry room, it gets a lot of traffic but it never looks dirty. You know I'm itching the paint the walls now.

With 4 kids using this bathroom, you can imagine how dirty the light colored floor got. This is very forgiving. My youngest son calls this the castle floor. 
I love how it looks with the white cabinets. 

My favorite look is the kitchen. My kitchen is not a walk through. You pass by it to get to other rooms. This is the view from my bedroom hallway. 

This pattern made the kitchen seem a little smaller which was fine; there is a lot of floor space in my kitchen but not enough for an island. 
I still struggle with the cabinet color. I know we will paint them eventually but they're just not priority at the moment.

I encourage everyone to check out your floor warranty before purchasing new floors especially if you're having issues. Call the people who made the floor, the floor company who installed them and then call them again until they agree to honor the warranty.

The trouble that you go through is worth several thousand dollars. 
Just so you know, it took us a several months of phone calls.

Thank you so much for stopping by
Thrift My House!

Wednesday, May 21, 2014

Removing Chalk Paint

Remember this? 
It used to be oak. I chalk painted it white a year and a half ago, 
back in the fall of 2012... (don't tell Suzan, but I didn't wax it)
#

I didn't take the mirror off when I painted it. It never occurred to me to take the mirror off. Why would I? I just painted around it.
clueless!

I decided that I wanted a change.
I wanted to use the dresser for my TV. I took the mirror off and of course there was a heavy ridge of paint where the mirror sat.
  I decided to see if just maybe...I could wash the chalk paint off and start over... just for fun.

Amazing huh? maybe not? It took only a few minutes... I used soap and water, wet it down, scraped and scrubbed it gently and the paint came right off. 

This was so much easier than trying to sand down the ridge and match up the paint. The chalk paint didn't mess up the surface of this dresser at all. 
And it was on there way over a year!

I'm going for a lighter look in the bedroom. I re-chalked the top and WAXED it. 
I painted the knobs satin nickel. 
Stuck the TV on it and Done.

I'm not saying this is something you should do.. I just thought it was interesting. For some reason, this made me love chalk paint even more.

*** This will not work if you have waxed it ***
Wax or Poly sets the paint.

I always learn something new every time I paint.

Thank you so much for stopping by
Thrift My House!

New Corelle Dishes and an Open Cabinet Update

Like so many of you, I love white dishes. 

 A couple of years ago, I bought these dishes from Walmart.
I was so happy. They were cheap and they were perfect.

 A little over a year later, they looked like this. Gross. 
I guess you get what you pay for.

I did some research and decided to try Corelle.

And now that I've had them almost a year, I love them.
I have kids who load and unload the dishwasher and I can tell you that these dishes take tons of daily punishment! 
Not one broken, cracked or scratched. 

 They don't take up much room. I'm not sure why I'm only showing 6 large bowls here. I have 12. I took these pictures last summer.

 I still like my open cabinets. Remember, I took the doors off a while back in hopes to lighten up my dark kitchen. 

This is how my cabinets look today. Less busy. 
I'm surprised how easy it's been to keep them neat.
Even the kids take more care when putting the dishes away.

I like changing things up and open cabinets is a great way to feed that need! Plus it gives me somewhere to put random thrift store finds. 
Have you tried Corelle dishes?
(No,they didn't pay me for this, oh, how I wish they would)

Thank you for stopping by
Thrift My House!


Vintage Ironing Board Vignette

Most of you know that I love thrift store shopping. My entire home is decorated with thrifted items. I am not ashamed.
I picked up this red bottle last week. Perfect for summer decor.

Recently, I found this wooden ironing board.
 Oh Happy Day!
I also picked up this metal basket for a dime. Yep, a dime. 
The chicken crate belongs to my husband. And you know 
what that means....What's his is mine.

The ironing board just does fit along this wall. I think that
 it helps to ground the shelves. 

I struggle with vignettes. Just the word itself intimidates.
Before blogging, I had never even heard of that word.
 Seriously, I had to look it up when I first saw it...
Just between us, it's a little too fancy for my taste.

This is how I do it: I gather things together that have meaning 
and speak to me. I've decided that vignettes don't have 
to make sense to other people. As long as they make sense to me. 
Whew! I'm so glad I figured that out.

 This is the view from the kitchen.  

This is the view from my chair where I'm blogging right now.
My living room is pretty big. This is one corner. 
See that green stool. It's so cool. I picked it up for less than $5.00. 
I wish I knew where it came from, who had it, and kept it in such great condition. 
I think it might be from the 70's.

I have white slipcovers for my couch and love seat but they need to be ironed.... I keep putting it off. Although, I am looking forward to a lighter look for summer. 
I want to add more red accents, maybe change up the pillows. I can't decide if I should paint the front door. So many decisions... 

This afternoon I'm going to pick out my wood floor for this room.
(So excited except for the fact we are going to install it ourselves... ) 

Thank you so much for stopping 
Thrift My House!

Chalk Painted Thrift Store Table

I've been chalk painting lately... 

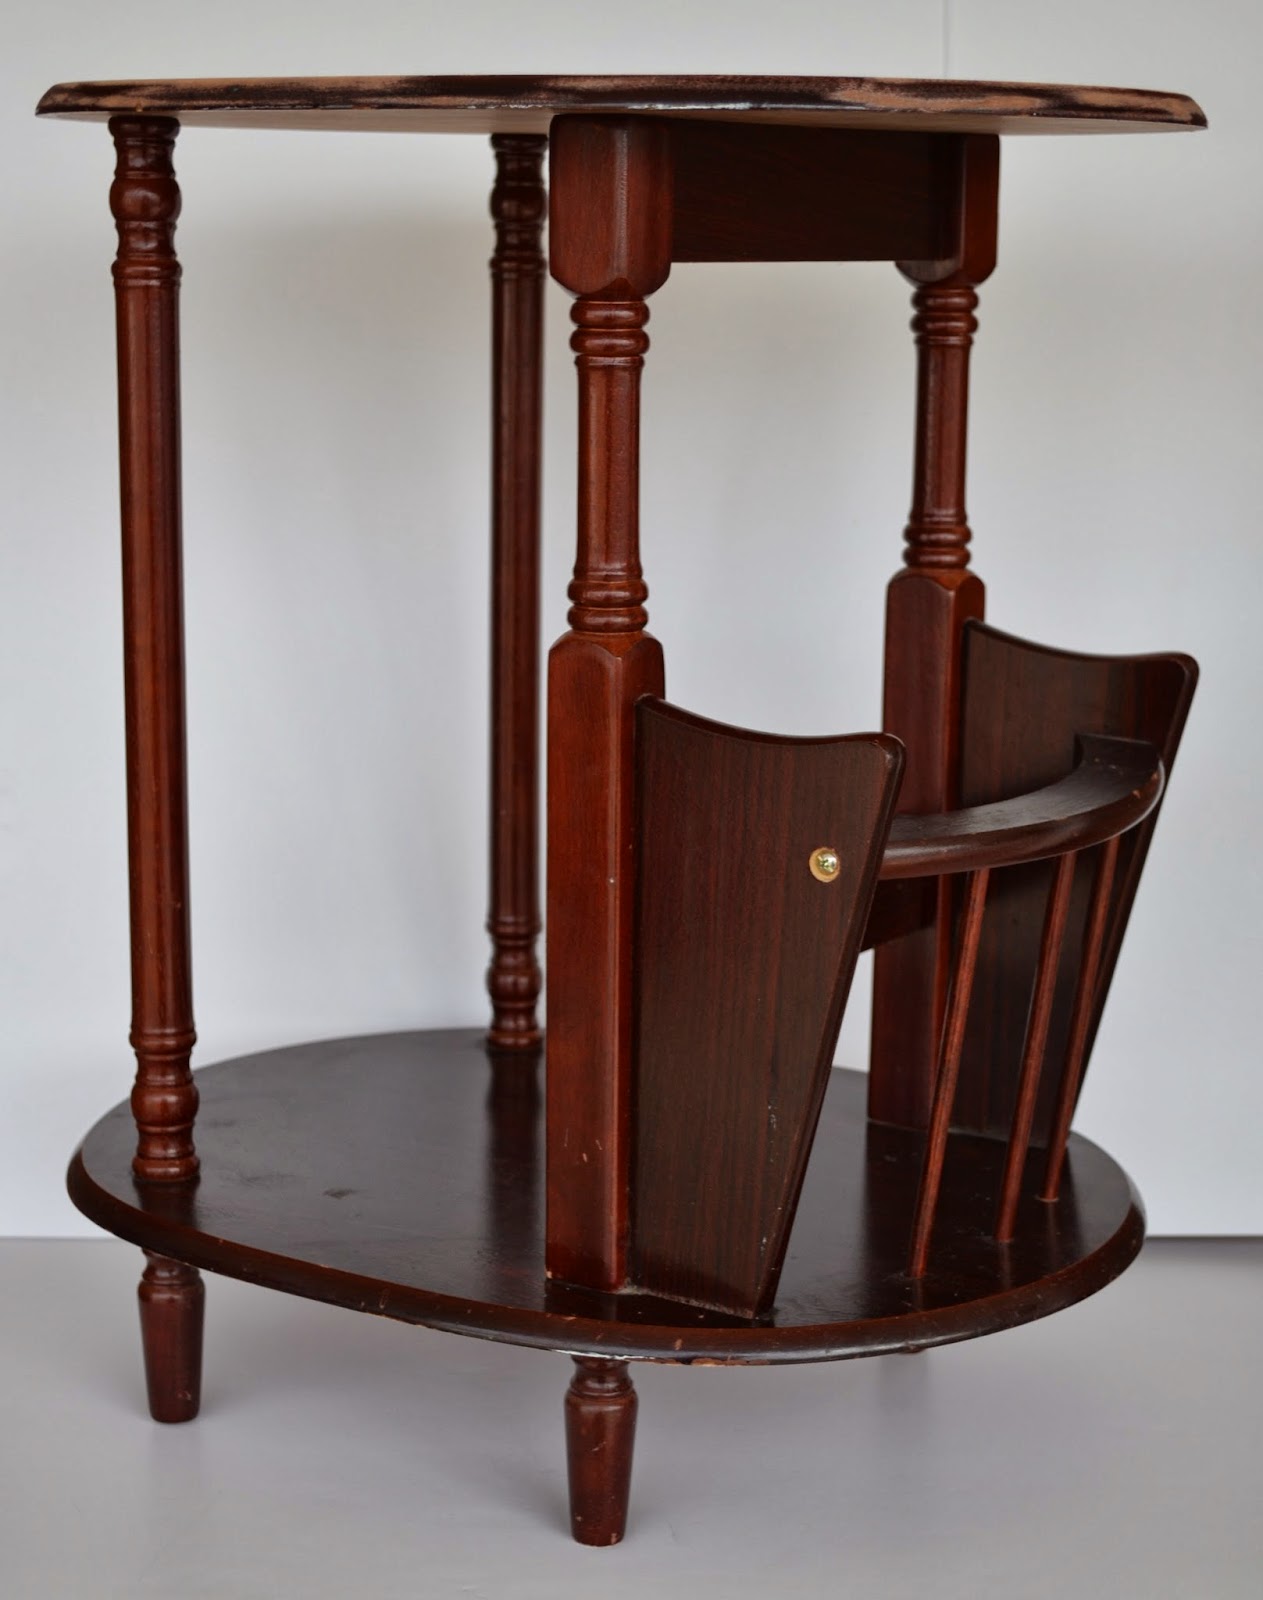
I picked up this cute table for $2.99 at Goodwill.

The top had globs of paint and looked really bad. I sanded it and decided to paint it.

I wanted to paint something green... this color photographs a little yellow, but it's really a pretty green in person.

I used Unsanded Grout to make my chalk paint.

I mixed 1 tablespoon of grout to 2 tablespoons of hot water, stirring until the grout dissolved. 

I then added the grout to 1 cup of latex paint, stirring well.  
Dissolving the grout first really makes the paint nice, a pudding like texture.
The sample paints are almost a cup; they work perfect if you don't want a whole gallon. 

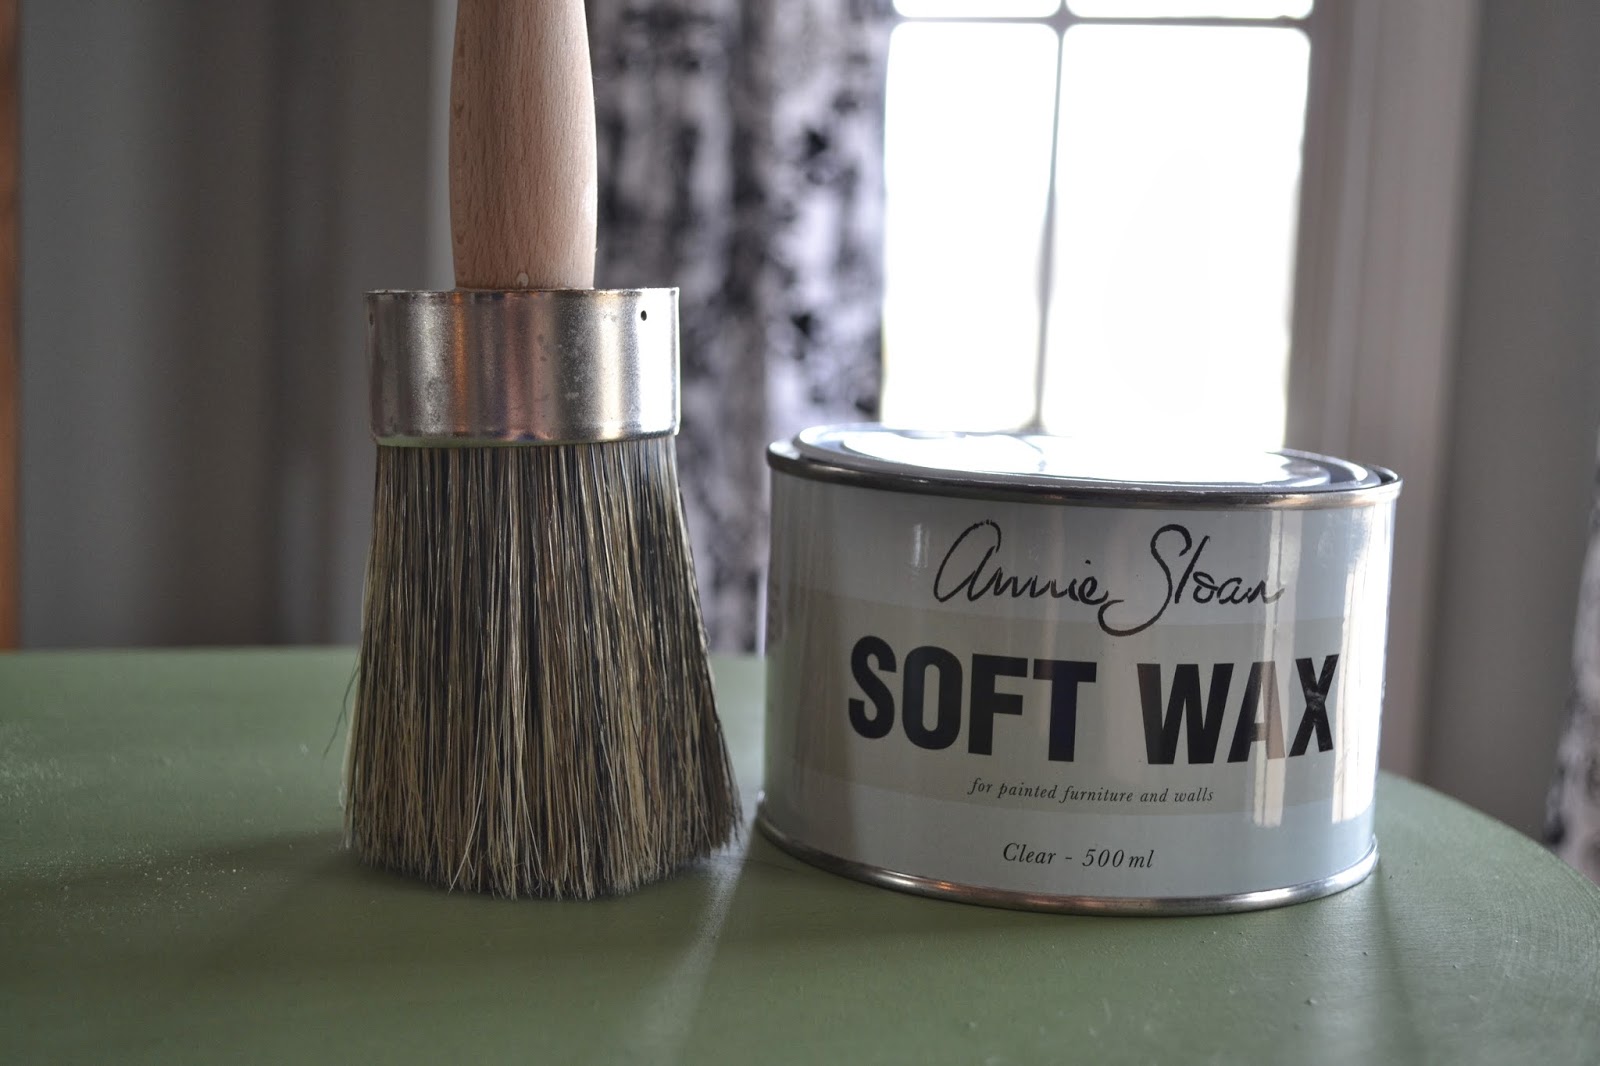
 It took 2 coats to cover. Then I waxed it. I like making my own chalkpaint, but I use Annie's wax.

 I love that I can spend under 3 dollars and have a 
pretty piece of furniture that's also useful. 


 Not bad for $2.99...
Thank you so much for stopping by
Thrift My House!
Sharing with Thrifty Life Thursday.