Monday, July 7, 2014

2014 Bedroom Reveal

2014 Bedroom Reveal
Okay, so I've been working on this since 2013 but who 
has to know? This post has tons of photos so pull up a chair 
and stay a while.

It all started with paint. Don't it always... 2 years ago I decided to paint my bedroom suite. In the moment, I didn't think about it... I just did it! I mixed up some white chalk paint, held my breath and started painting.

That 80's oak furniture didn't stand a chance... the more I painted, the more I loved it. And to this day, it's the best decision I ever made. My advice... if you don't like it, PAINT it!

This was how my bedroom looked before my latest makeover. I had a black, white and tan color scheme. I liked it for a while... but I really missed color. I just need a little and for the life of me, I couldn't figure out how to add color to this and it look right.

Here we go!
I stripped everything down to nothing and started over... Starting with the walls. I painted them Valspar Woodlawn Sterling Blue.
It's a light blue with gray undertones. I really like it.

And for Christmas, I bought myself this bedspread. 
It's from J.C. Penny. It's a king size  Royal Velvet Ogee bedspread. It's huge. I finally found a bedspread that goes to the floor on both sides of my bed. LOVE it!  

Here is my new Blue, white and green bedroom. 
I kept it light and airy. I painted everything that was black (hardware and lamps) Rustoleum Brushed Nickel and other things I painted white. I added some green accents with the lamp shades and bedding.

Side table decor.

I don't have enough room for a table along the wall beside my bed and I have this thing about pictures hanging with nothing underneath. That bothers me. These shutters work perfectly to ground the chicken wire frame that holds all of my cards and photos.

There is a huge oak tree just outside my window. Pretty view.

My father in law made this bench at the end of my bed when we first got married. It used to sit on the back porch but I painted it up and now it sits here with shoes stored inside.

I also have this thing about balance... I tend to try and do the same kinds of things on both sides of something. Am I the only one?

You can never have too many baskets. I am a baskaholic.

See how narrow this bookcase is... I'm always on the hunt for narrow furniture. This is a long wall with not a lot of floor space so this worked perfectly by the door.

I picked this up at a local junk store. It was NASTY! I think cats may have peed on it. Yeah, gross! But let me tell you... Chalk Paint to the rescue! It painted up beautifully and it no longer smells bad. Oh and I only paid $15.00 for it. 
Don't you like the open slats in the back.

Look at it now! Do you guys know Mary Alice over at Chateau Chic? She has the most awesome blog and if you need inspiration on how to display things... go follow her!  
Great inspiration! When I was styling this I kept asking myself.. 
what would Mary Alice do... haha!

When in doubt, I always add a chalkboard. And I have many! I like the simplicity of them.

Okay guys... this was 5 years ago... before blogging... 
I don't even know....

Much better wouldn't you say?
Honestly, all of you are my inspiration. I've learned so much over the last couple of years and you've all helped and encouraged me to try new things, do it myself and find my style!

Thank you so much for stopping by Thrift My House!


Sunday, June 29, 2014

1-2-3 Easy July 4th Craft Projects

Can you believe it's here already??? July 4th... this week! 
Can we please slow down summer! I beg you!

Last week, I shared with you my patriotic pin wheels. You can see them here.

Here are a few more projects I've been working on.

What do you get when you combine some old denim, a thrift store pillowcase, and burlap?

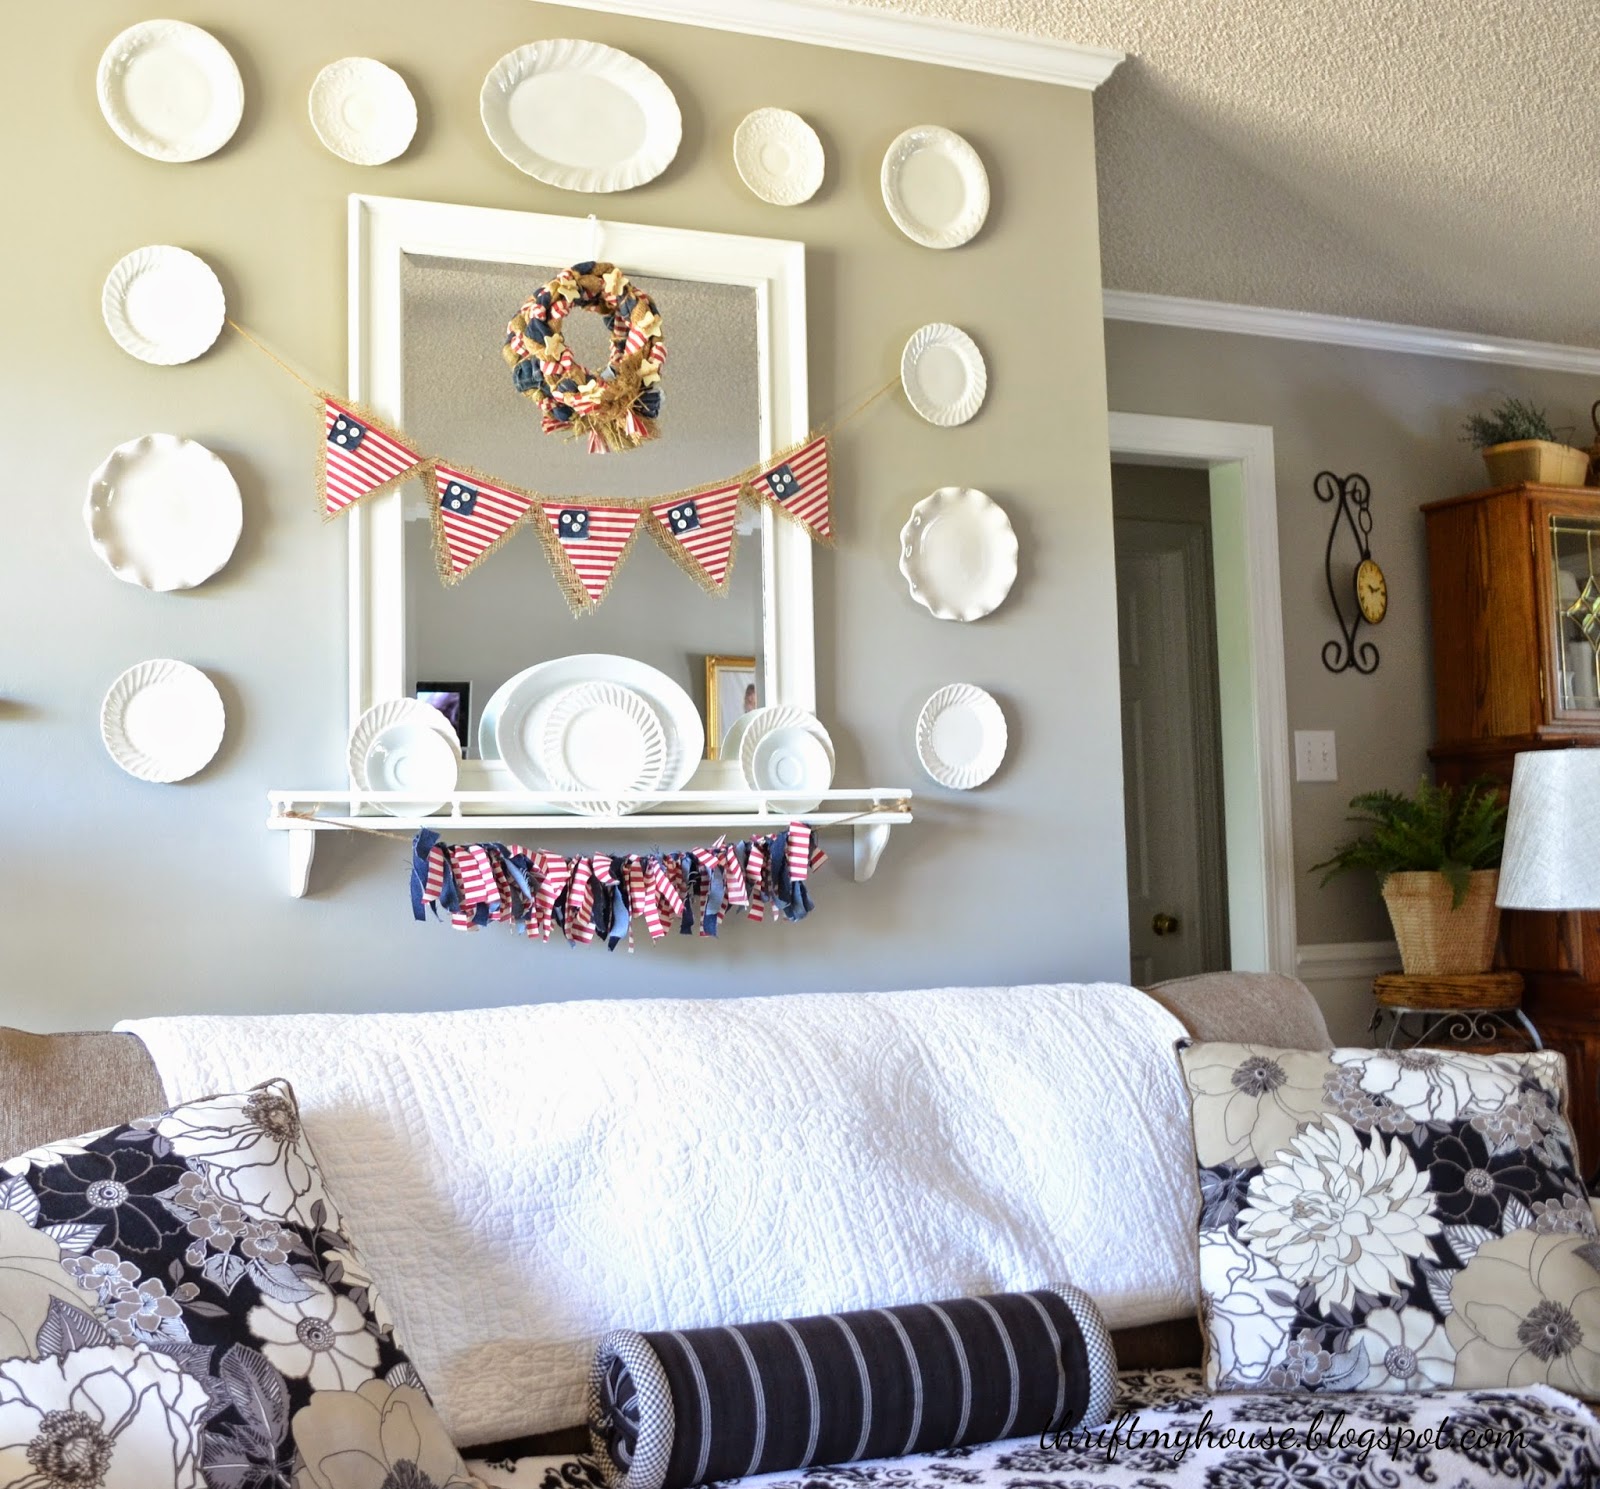
3 quick and easy projects; just in time for your July 4th celebration.

The first thing I made were these flag pendents. 

I love the buttons standing in for the stars.

Project 2, I decided to braid 3 strips of fabric and make a wreath.

I used rubber bands to secure the ends.

I had NO idea where I was going with this... I kept playing with it till I decided to loop it around and make a small wreath.

I tied the two strands together with twine. I punched holes in some chip board stars
(thank you Mom!) and tied them to the wreath.

This is so cute, I'm really happy how it turned out.

Last but not least, I made this rag banner. Very fast and easy!

And here we are.... 

Hope you all have a wonderful week 
and a safe and Happy July 4th!
Thank you so much for stopping by Thrift My House!

Sunday, June 22, 2014

A Red, White and Blue Craft Project for July 4th.

July 4th, it's right around the corner. Here's a fun way to add some red, white, and blue to your decor.

I started with some patriotic looking scrapbook paper and some flower stickers. 

You will need to cut the striped paper in half. 
If you have a paper cutter, it works perfect for this.

Fold the paper back and forth, accordion style. 

Pinch and tape the middle like this.

Now, hot glue each side together.

It should look like this. Tip- glue the edges first, then glue towards the middle. This helps to line up the outside edge. 

Find something and trace some circles. The circles looked boring to me so I added some cuts to the sides to add some texture.

Now, find something bigger and cut some bigger circles.
I used burlap because... I have this thing for burlap.

Cut out some little squares. Trust me, it will all make sense in the end. Don't you wish everything was like that?

Here is the fun part. Layer and glue the pieces together. 
I used hot glue. I don't know why, but this just makes me happy.

I made 7 of these, added twine to the back and hung it across the doorway between the dining room and the living room. 

A little red, white and blue (and burlap) is a good thing!
Thank you so much for stopping by Thrift My House.

Thursday, June 19, 2014

Thrifting My House.

The name of my blog is "Thrift My House" and there's a good reason for that. Over the years, I really have thrifted my house!

If you came over to visit, first of all, I would be thrilled! We'd chat the day away, laugh a ton and if you had time, we'd hit a few thrift stores. There are 6 thrift stores and 1 flea market within 30 minutes of my house. And I go to all of them! 3 of them, I go to every week.

Here are last weeks finds. I spent less than $20.00 on everything you see here. I have disciplined myself to ONLY buy what I have a plan for. (most of the time)

 I hope to inspire the naysayers to give thrift stores a chance. I used to be a naysayer! I'd walk through one and say "this is junk." It took me a while to get the hang of thrifting and it really changed my life.  I can decorate THRIFT my house and stay on budget. 

This clock! 
$2.49
It's hanging in my living room and it's gorgeous.

Ginger Jar. 
$2.99
It's going in my Etsy shop.

Calvin Klein Dress.
$4.50
For my oldest daughter.
It's lined with a slip. No see through, perfect for summer.

$1.59
I always buy metal baskets!
It's sitting on my buffet with lemons inside.

2 King Pillowcases.
$2.80 total.
I plan to make 4 pillows.

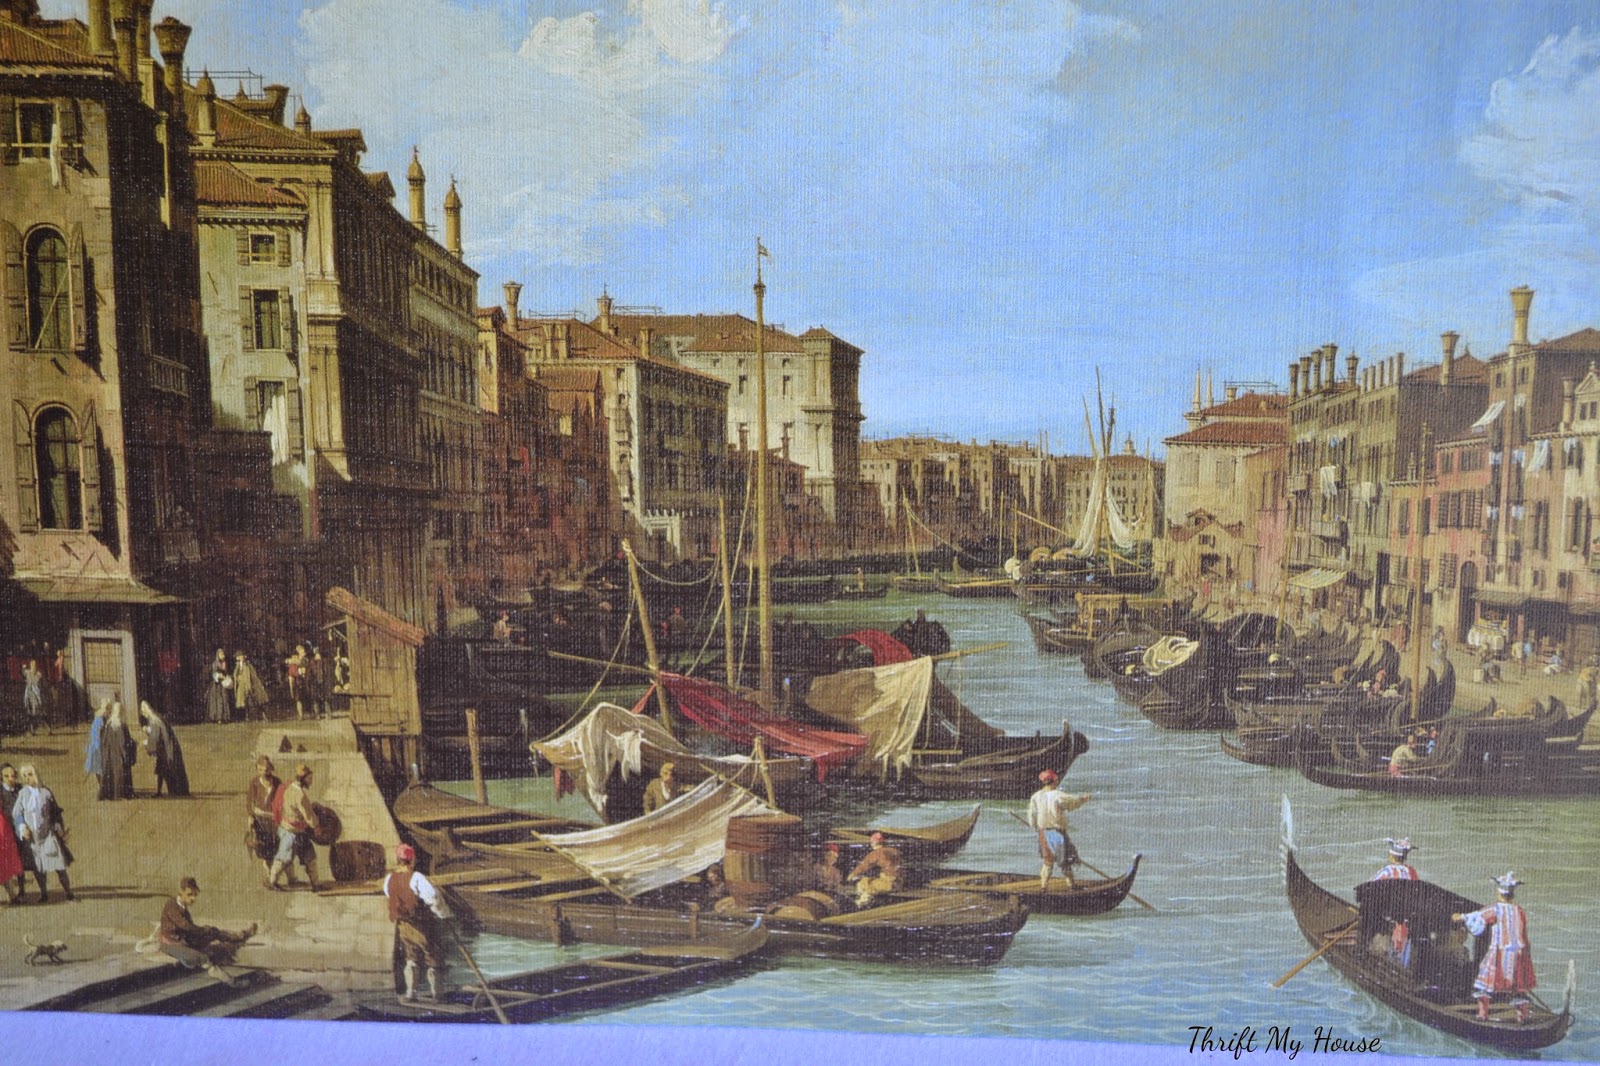
Italian Art.
$.49
My youngest daughter has a travel wall in her bedroom.

I spent around $16.00. And it was such a fun day.
Me, my Mom and my youngest daughter had a great time!
So many of you tell me that your thrift stores are not good.
My advice is to visit them often. I can walk through and be out in less than 3 minutes if nothing catches my eye. I know that my success with thrifting is due to me going often.

Thank you so much for stopping by
Thrift My House! 


Friday, June 13, 2014

2014 Summer Mantel and a Guest Post

I am so excited to be guest posting over at Silo Hill Farm!
 For those of you who don't know Danni, she is very funny, creative and makes the most amazing projects. Not to mention, she is so nice!

 Today I'll be sharing with her readers how I made this Beach House Sign. Hop on over to her blog to see how I made it.

But, while you're here, I'll show you where I used the sign. 
It inspired me to create a Beach Themed Mantel this year.

 Nothing complicated... mostly thrift store items, ... and neutral colors.

My husband stopped by a field nearby and picked this rye for me.
Isn't it pretty. I love the color and texture this adds.

These succulents belong to my daughter, Katie. We usually keep these on the back porch. I'll probably replace them with some faux ones from Michael's. They love hot and humid conditions and hopefully that WON'T be the case in my living room. Ha!

I knew I wanted a banner but didn't have time to make one so I clipped seashells to twine. Done.

My very simple 2014 Summer Mantel.
Thank you so much for stopping by Thrift My House.
Don't forget to visit Danni over at Silo Hill Farm!

Wednesday, June 11, 2014

Shutter Jewelry Organizer

*I'll be sharing blog posts from my old blog in order to get them transferred to my new blog *

Shutter Jewelry Organizer

First, I drilled holes where I wanted to place the knobs.

Then I painted the knobs, the basket and the box white. You could easily change this up but you get the idea.

Have fun placing your jewelry on the shutter.

The little box holds small earrings etc....

So what do you think?
Thank you so much for stopping by 
Thrift My House!