Thursday, October 30, 2014

How to Make a Real Leaf Wreath

How to Make a Real Leaf Wreath
and I'd like you to meet my blogger friend Karen who blogs over at The Feral Turtle.

Have you ever had a friend who inspired you to do things you normally wouldn't? For example, today I did a photo shoot with soap, a beaded spider and leaves from the backyard.

Well, Karen, is just that friend! She sent me the most beautiful homemade soap and she made this pretty little spider, all for me... for no reason at all. I think it's because she has a big heart and she's amazing! Here are a few sneak peeks of her latest projects. I'm warning you though, you can't leave her blog without laughing about something..... she is a riot!


__________________________________________________________________________
Back to the program...  
How to Make Real Leaf Wreath 

For this project, you will need some leaves. (I used Maple leaves)
A round cardboard doughnut (I must be hungry), and a stapler.

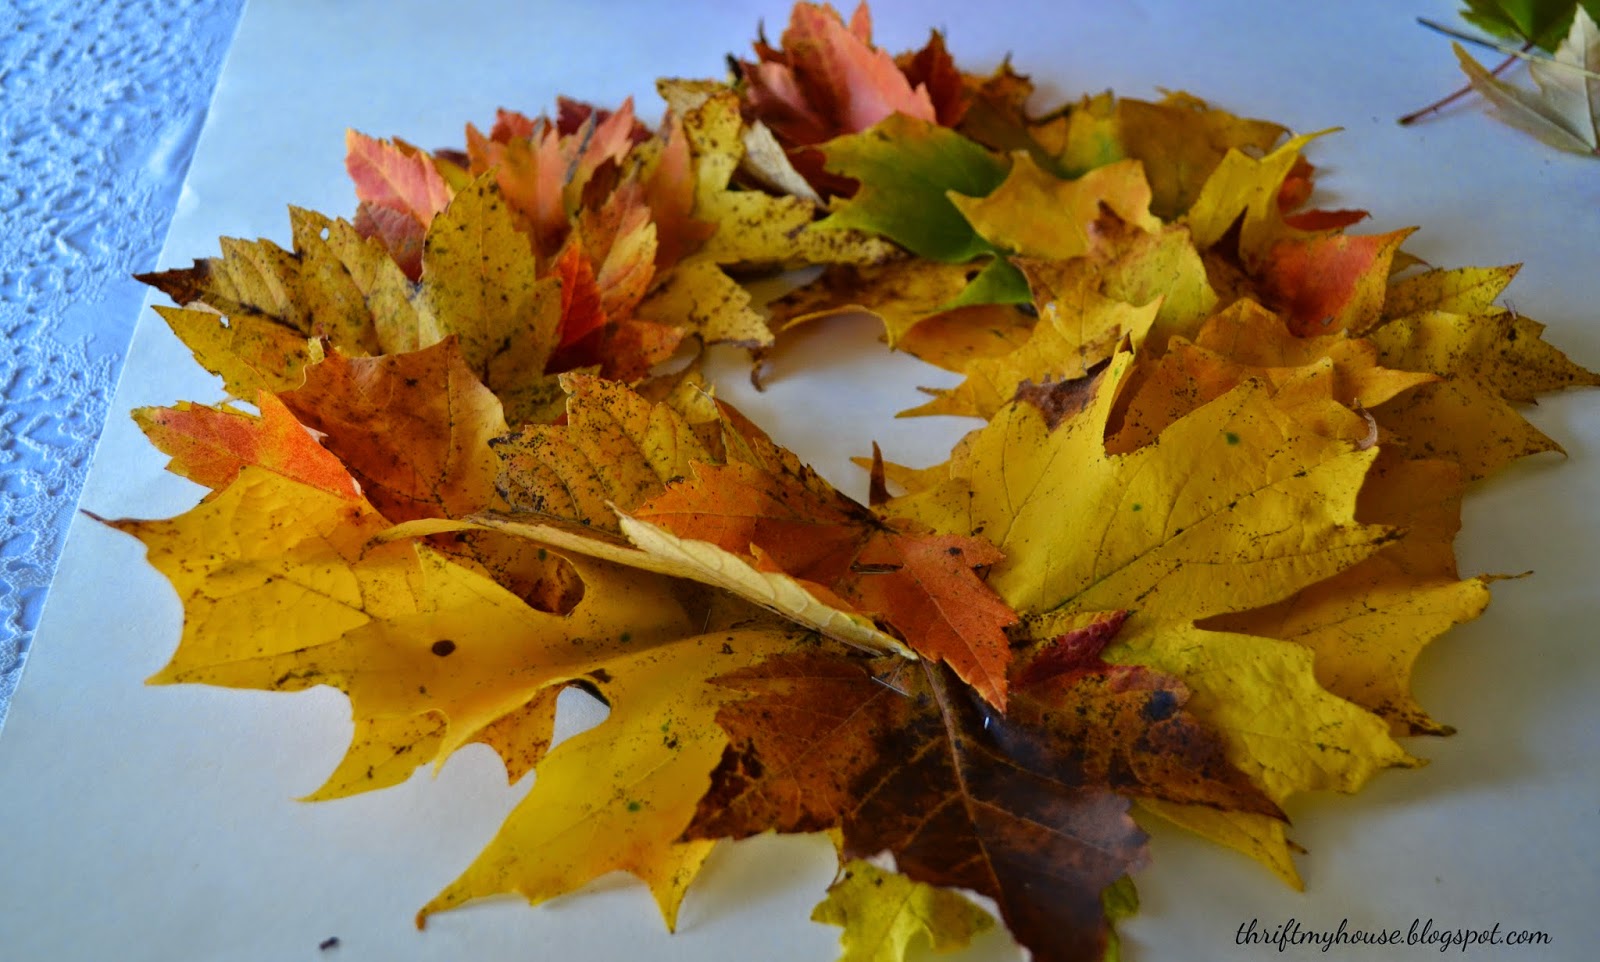
Next, layer the leaves around the cardboard. Don't think too hard, just staple away! 
This is fun for the kids too. 

After a few minutes, you will have this.

I hot glued extra leaves to cover the staples that were showing. 

Wa- La! A very simple real leaf wreath. 

 I make one every year. Here's the one I made last year.

This is what it looks like when it dries out completely. It takes a while for this to happen.

If you're a little bit ambitious like me, you can spray paint it silver for Christmas, or not...

This really adds a punch of color to the dining room. 
Pretty-Pretty!
I hope you were inspired! Now go make a leaf wreath!
Thank you so much for stopping by 
Thrift My House!

Tuesday, October 21, 2014

Signs made out of floor samples.

How I made 8 different signs 
out of floor samples.


 It all started with a clearance... these wood floor samples were $.08 a piece at our Lowes home improvement store.

Sign #1, Bakery
I stenciled each block with a letter and then I clicked and stapled them together on the back. 
A nice chunky sign. 

I picked these up for $.03 a piece. I did basically the same thing to them except I painted them white and because they are so thin, I used duck tape on the back to hold them together.

Sign #2, Welcome Home
This view is from the foyer coming in from the garage.

This is stick on vinyl. It was around $2.00.

Sign #3, Self Service Only
I stuck the vinyl to a piece of foam board, painted it white, added letters and sanded it. 
And, yes, I mean every single word...

This is another piece of vinyl. I used the same technique here.

Sign #4, Gather
 I made a Gather sign for the dining room.

Sign #5, Joy
One piece was enough to make two signs. I cut it to the size I needed with scissors. 
I really like how it distresses.


This is ceramic tile that looks like wood. It's very heavy.

Sign #6, Chalkboard
I decided to make a chalkboard sign out of it. 
I think it'll make a good prop for any vignette.

I found these laminate floor boards at a Habitat thrift store. They were $.65 a piece. I wish I'd bought more than two! I went back yesterday and they were all gone.

Sign #7, Family Sign
I've been wanting to put something above the TV so I made a family sign. I used little screws and wire on the back to hang it.

Sign #8, Grocery Sign
This one is my favorite! I used six inch letters on this laminate board for my grocery sign. Notice I put my cabinet doors back on. I needed a change... again.
Okay, so I've gone a little overboard with the signs... but I just can't help myself.  

I hope I've inspired you today. 

Thank you so much for stopping by 
Thrift My House!

Monday, October 13, 2014

A Very Pink Guest Post

Do you know Tuula who blogs over at The Thrifty Rebel?

Well, I've been inducted into the Pink Ladies club. It was a bit of a challenge because PINK is not one of my go to colors....


 I hope you will visit Tuula to see what I came up with. It was a lot of fun. 
Look around Tuula's blog while you're there. She is a thrifting genius.

Thank you so much for stopping by Thrift My House.